What Happens During an HVAC Installation? A Step-by-Step Walkthrough
A standard residential HVAC installation in the Savannah area takes one full day for a straightforward replacement — typically 6 to 10 hours from the crew’s arrival to system commissioning — and involves removing the old equipment, installing the new outdoor condenser and indoor air handler, connecting refrigerant lines and electrical wiring, charging the system, and testing it through a full operating cycle. More complex installations that require ductwork modification, electrical panel upgrades, or relocating equipment can extend to a day and a half or two days.
Most homeowners have never watched an HVAC installation happen. The old system was there when they bought the house or was installed years ago by someone else, and the process is a black box. That lack of familiarity makes it difficult to evaluate whether an installation is being done correctly, how to prepare your home for the crew, and what is normal versus what should concern you. Here is what a professional installation actually looks like from start to finish, what the crew should be doing at each stage, and what you should see when they leave.
Before Installation Day: The Pre-Work That Matters
A quality installation starts before the truck pulls into your driveway. The work that happens between signing the proposal and installation day determines whether the project goes smoothly or turns into a series of improvised decisions.
The contractor should have performed a Manual J load calculation during the quoting process to determine the correct system size for your home. The equipment should be ordered and confirmed available — not backordered — before the installation date is set. If ductwork modifications, electrical upgrades, or a new thermostat are part of the scope, those materials should be on hand or scheduled for delivery.
You should receive specific preparation instructions from the contractor. At minimum, clear a path to both the indoor and outdoor units with at least three feet of working space around each. If the air handler is in the attic, ensure the attic access is clear and that the crew can move large equipment through the opening — some older Savannah homes have attic hatches that are too small for modern air handlers, which the contractor should have identified during the site visit. Move vehicles out of the driveway to make room for the installation truck. If you have pets, plan to keep them in a room away from the work area or out of the house entirely, since doors will be propped open and crews will be moving in and out frequently.
The contractor should have pulled the required mechanical permit through Chatham County or the City of Pooler before installation day. Ask for the permit number if you want to verify — this is public record and confirms the work will be inspected by the local building authority.
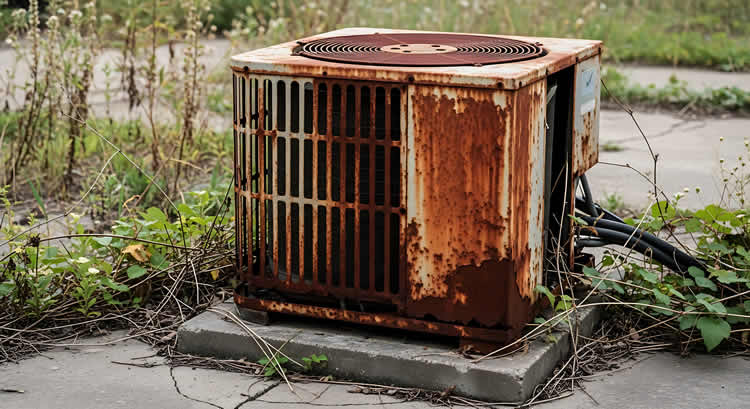
Stage One: Old System Removal
The crew’s first task is removing the existing equipment. This begins with shutting off power to the system at the electrical disconnect and the breaker panel, then recovering any remaining refrigerant from the old system into a recovery tank. Federal law under Section 608 of the Clean Air Act requires that refrigerant be recovered — not vented to the atmosphere — regardless of type. If you see a technician simply cutting refrigerant lines without a recovery machine connected, that is both illegal and a sign of corner-cutting that should concern you about the rest of the installation.
The old outdoor condenser is disconnected from the refrigerant lines, electrical wiring, and concrete pad, then removed. The old air handler or furnace inside the home is disconnected from the ductwork, condensate drain, electrical supply, and refrigerant lines, then removed. On a straightforward swap where the new equipment fits in the same location, removal takes one to two hours for a two-person crew.
In older Savannah homes where the original air handler was installed in a tight closet, a cramped attic space, or a garage corner with limited clearance, removal can take longer due to the physical challenge of maneuvering large equipment through narrow passages. Crews may need to partially disassemble the old unit to extract it. This is normal and expected in older installations — it is not a sign that something is going wrong.
The crew should remove all old equipment from your property and handle disposal. Scrap metal from the old condenser and air handler has some salvage value, which the contractor typically keeps as part of the installation agreement. Confirm this arrangement upfront if it matters to you.
Stage Two: Indoor Unit Installation
With the old equipment out, the crew installs the new indoor components first. This typically means a new air handler (in all-electric and heat pump systems) or a new evaporator coil mounted on an existing furnace (in gas heating systems).
The air handler is positioned in the same location as the old unit in most replacements, mounted on a platform or suspended from supports if installed in an attic. The crew levels the unit precisely — an air handler that is not level causes condensate drainage problems because the built-in drain pan relies on gravity to move water toward the drain connection. In Savannah’s humidity, where the system produces gallons of condensate daily, a slightly unlevel air handler creates standing water in the pan that promotes mold growth and eventually causes overflow.
The ductwork connections are made at the supply and return plenums. If the new air handler is the same size as the old one, existing ductwork connections may fit directly. If the new unit is a different size or configuration — common when upgrading from an older system to a modern variable-speed air handler — the crew fabricates sheet metal transitions to adapt the existing ductwork to the new unit. These transitions should be sealed with mastic or foil-backed tape (not cloth duct tape, which degrades within a few years in attic heat) to prevent air leakage.
The condensate drain line is connected and tested. The primary drain should flow to an exterior exit point or an approved interior drain. A secondary drain or safety float switch should be installed as a backup, particularly for attic-mounted units in Pooler and Savannah-area homes where a drain failure sends water through the ceiling. The crew should pour water into the drain pan to verify flow through both the primary drain and the safety switch before proceeding.
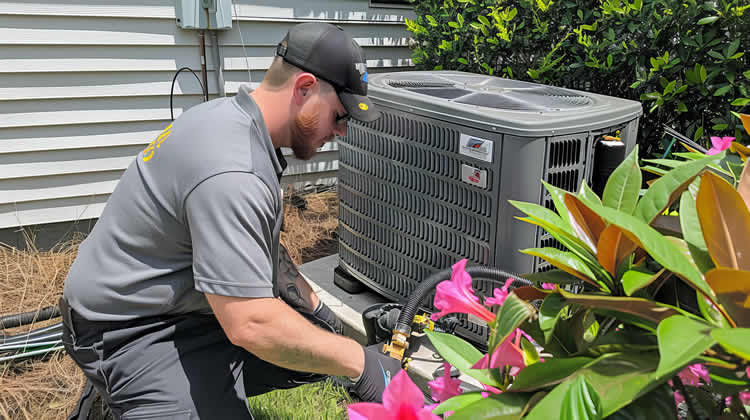
Stage Three: Outdoor Unit Installation
The new condenser is placed on the concrete pad outside the home. If the existing pad is level and in good condition, the new unit sits directly on it. If the pad has settled, cracked, or is undersized for the new equipment, the crew installs a new composite pad or pours a new concrete pad. The unit must be level to ensure proper oil return to the compressor — a condenser that is tilted even slightly can cause oil pooling that leads to premature compressor wear.
The crew should verify minimum clearance requirements around the outdoor unit. Most manufacturers specify at least 18 to 24 inches of clearance on the service side and 12 inches on the remaining sides, with no overhead obstructions within 48 to 60 inches above the unit. In Savannah, where vegetation grows aggressively from spring through fall, positioning the condenser with adequate clearance from shrubs, fences, and building walls matters for both airflow and future maintenance access.
The electrical disconnect — the switch box mounted on the exterior wall near the condenser — is wired from the breaker panel to the disconnect and from the disconnect to the unit. If the new system has a higher amperage requirement than the old one, the existing wiring and breaker may need to be upgraded. This is an area where code compliance matters — undersized wiring is a fire risk, and the permit inspection will catch it if the contractor misses it.
Stage Four: Refrigerant Lines and Charging
Connecting the indoor and outdoor units through the refrigerant line set is one of the most skill-dependent stages of the installation. The line set consists of two copper lines — a smaller liquid line and a larger suction line — that carry refrigerant between the evaporator coil and the condenser.
In a straightforward replacement where the existing line set is in good condition, the crew may reuse it after flushing to remove any contaminants from the old system. If the existing lines are damaged, corroded, or incompatible with the new refrigerant type, new lines are run. New line set installation involves routing the copper lines between the units, brazing the connections with silver-bearing solder, and insulating the suction line to prevent condensation.
Brazing quality is invisible to the homeowner but critical to long-term reliability. Proper brazing requires flowing dry nitrogen through the lines during the brazing process to prevent oxidation inside the copper. Oxidation creates scale that circulates through the system, clogs the metering device, and contaminates the compressor. If you happen to watch the brazing process, look for a nitrogen tank with a regulator and a hose connected to the line set — its presence indicates the crew is following proper procedure.
After all connections are made, the crew pulls a vacuum on the refrigerant lines using a vacuum pump. This removes air and moisture from the sealed system. The vacuum must reach 500 microns or below and hold at that level for a minimum of 15 to 30 minutes without rising, which confirms the system is sealed and dry. Rushing the vacuum process — pulling for 10 minutes and calling it done — leaves moisture in the system that forms acids and destroys the compressor from the inside over the following years.
Once the vacuum holds, the crew releases the factory refrigerant charge from the new condenser into the system. If the line set length differs from the factory charge assumption (typically 15 to 25 feet depending on the manufacturer), the technician adds or removes refrigerant to match the manufacturer’s specification. This charge must be weighed with a digital refrigerant scale — not estimated by gauge pressure alone — because even a 10% deviation from the correct charge reduces efficiency and can cause operational problems.
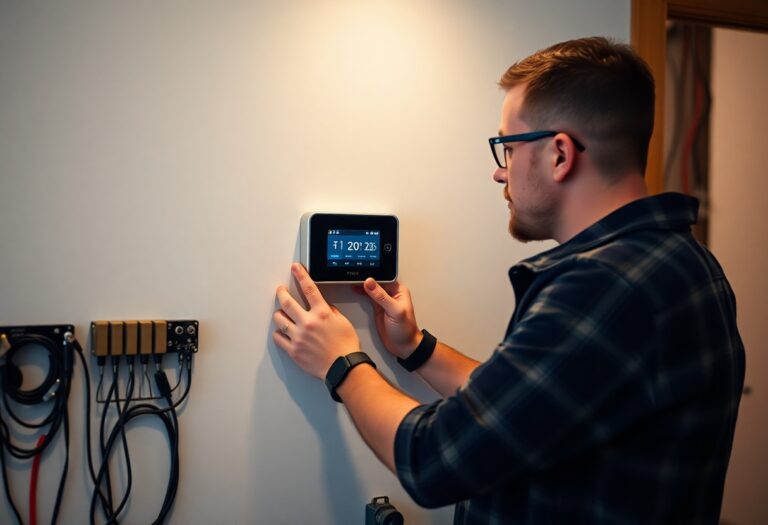
Stage Five: Thermostat and Controls
The thermostat is installed or integrated with the new system. If the installation includes a new thermostat, the crew runs or reuses the control wiring between the thermostat and the air handler. Modern communicating systems use proprietary wiring configurations that require specific thermostat models, so the thermostat selection should have been determined during the quoting process rather than decided on installation day.
The crew programs the thermostat for basic operation and walks you through the interface. For smart thermostats like Ecobee or Google Nest, this includes connecting to your home WiFi network and verifying that the app communicates with the unit. For standard programmable thermostats, it includes setting the clock, programming a basic schedule, and explaining the hold and override functions.
In Savannah’s climate, the thermostat’s fan setting deserves specific attention. The “auto” setting runs the fan only when the system is actively cooling, which allows the evaporator coil to drain condensate effectively between cycles. The “on” setting runs the fan continuously, which can re-evaporate moisture from the coil surface back into the house air — exactly the opposite of what you want in a high-humidity environment. Unless you have a specific reason to run the fan continuously (such as whole-house air filtration), leave it on “auto” in the Savannah market.
Stage Six: System Commissioning and Testing
Commissioning is the final and most important stage of the installation. It is where the crew verifies that everything they installed actually works correctly as a complete system, not just as individual components.
The system is started and run through a full cooling cycle. The technician measures the temperature split — the difference between return air temperature entering the air handler and supply air temperature leaving it. A properly functioning system should produce a split of 15 to 22 degrees Fahrenheit. The technician also measures refrigerant pressures on both the high and low side and compares them against the manufacturer’s specifications for the current outdoor temperature conditions. Airflow is verified at multiple supply registers throughout the house to confirm balanced distribution.
The technician checks the amperage draw on the compressor, condenser fan motor, and blower motor against the rated values on each component’s data plate. Amperage readings above rated values indicate a problem — incorrect wiring, a restriction in the system, or a defective component — that must be resolved before the crew leaves.
The condensate drain is verified flowing freely under actual operating conditions, not just the pre-installation water test. The safety float switch is tested by simulating a drain blockage to confirm it shuts the system off before overflow occurs.
All commissioning measurements should be documented on a startup report that you receive as part of the installation paperwork. This report serves as the baseline for future maintenance comparisons and as proof of proper installation for warranty purposes. If the crew does not offer a startup report, ask for one — the measurements were taken (or should have been), and having them on paper protects your investment.
What You Should Have When the Crew Leaves
At the end of a professional installation, you should have a fully operational system running a normal cooling cycle with verified temperature split and refrigerant pressures. You should have a thermostat that you understand how to operate. You should have the manufacturer’s warranty documentation and the registration information (or confirmation that the contractor registered the system for you — critical for the extended warranty). You should have the mechanical permit number and information about when the county inspection will occur. You should have a startup commissioning report with the baseline measurements. And you should have a clean work area — the crew should remove all packaging, old refrigerant lines, scrap metal, and debris from the installation.
If any of these items are missing when the crew wraps up, ask before they leave. It is significantly easier to address documentation gaps and cleanup issues while the crew is on site than to chase them down afterward.
At Carriage Heating & Cooling, every installation follows this complete process, documented with a commissioning report and backed by both the manufacturer warranty and our labor warranty. We pull all required permits and coordinate the county inspection. Call (912) 306-0375 for a free installation estimate anywhere in Pooler, Savannah, Richmond Hill, or the surrounding area.